
last updated: 07/19/2018
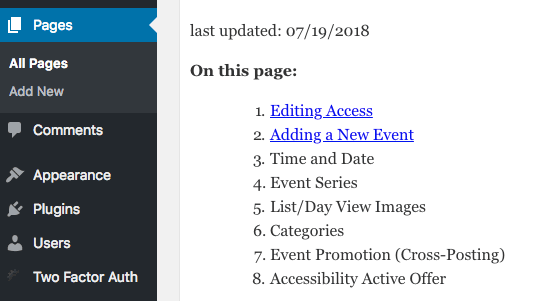
On this page:
Editing Access
All Brandon University events are now housed under the events.brandonu.ca website. Your user account on events.brandonu.ca is tied to your existing brandonu.ca website editing privileges. Therefore, you’re only able to add and manage events for departments or faculties for which you already have website editing privileges.
You can log in with your BU username and password at: https://events.brandonu.ca/wp-admin/
Adding a New Event
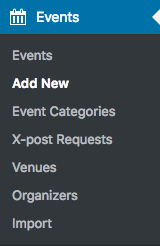
After logging into events.brandonu.ca with your BU username and password, you’ll find the link to the Events section in the left-hand navigation of the WordPress admin area.
Click Add New in either the Events navigation menu or the button at the top of the Events page.
The Events Calendar Section
The event options are located underneath the visual editor.
Time & Date

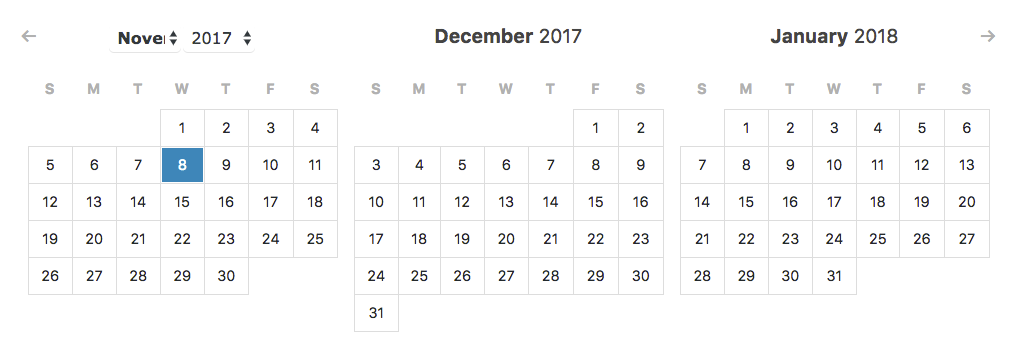
Start/End Date
Clicking on the Start/End date field brings up a calendar window showing the current month, as well as the following two months. Select your date from the calendar and the respective date field will auto-fill.
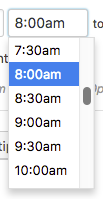
Start/End Time
Clicking on the time field brings up a list of times ordered by the half hour. You can also enter a custom time by typing within the field. If you’ve entered a custom time, you must click outside the field to keep it set —hitting enter will reset the time to the top or bottom of the hour (whichever is closer).
Selecting the All Day Event checkbox removes start and end time from your event (handy for events with no set duration).
Event Series

Event Series provides the ability to make your event recurring, allowing you to make one event instance appear on multiple different dates/times.
Clicking on the Schedule Multiple Events button exposes the following options:
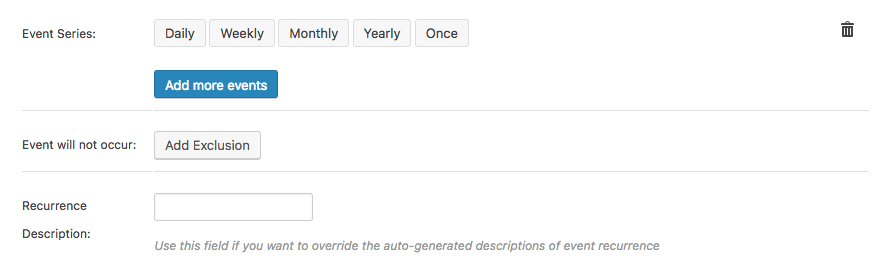
Event Series options
- You can set your event to recur daily, weekly, monthly, or once.
- The Add Exclusion option lets you exclude specific event instances.
- The Recurrence Description field lets you override the auto-generated event recurrence description with your own custom description.
Location
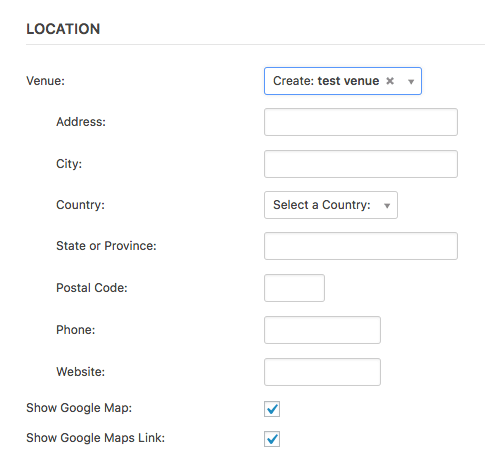
The venue dropdown menu displays a list of existing campus venues and includes a search box to help you find your venue.
If the venue you’re looking for isn’t listed, you can create it by typing the venue name into the search box. A Create: venue link will appear — clicking this link will open a section where you can enter the venue address and related contact information.


Optional event details
- Organizers — The Organizer dropdown menu operates like the Venue menu. It contains a list of existing organizers and also lets you create new organizer listings.
- Event website — If your event has a website, you can enter the web address here (http://www. Is not required).
- Event cost — If there is a cost associated with your event, you can enter it here. Enter 0 to display that the event is free or leave blank to hide the field.
List/Day View Images
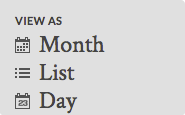
On the Events website homepage, there are three views available: Month (the default view), List, and Day.
In the List and Day views, an image — if available — will be displayed alongside your event listing.
This can be handled in two ways:
- Automatically — The first image displayed within the content of your event post is the image that will appear with your event listing in list/day view.
- Featured Image — The featured image option allows you to override the automatic option and use another image of your choosing.
Please note: Featured Images in the Events website do not follow standard WordPress behavior and will not appear above the content of your event post.
Categories
Categorizing an Event
Event Categories
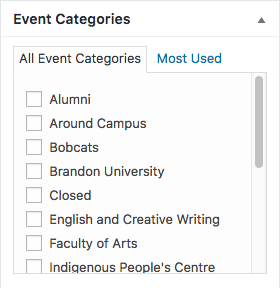
The Event Categories box is located on the right-hand side of the event post editing screen. This box contains your existing event category and sub-categories (if available), and gives you the ability to categorize your event.
Creating a Sub-Category
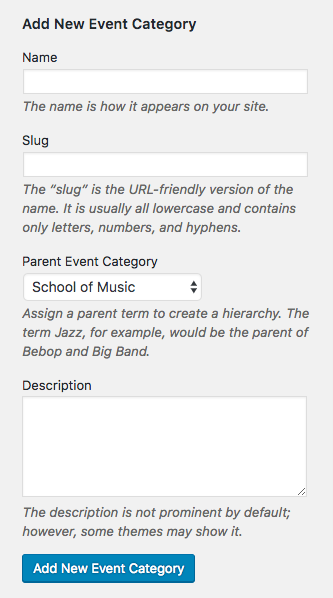
To create a new sub-category, click the Event Categories link, which is located underneath the Events menu in the navigation of the WordPress admin area. This will take you to the Event Categories page. On the left of you will see the following:
- Name — Enter the name of the sub-category here. This is how it will appear on the site.
- Slug — The “slug” is the URL-friendly version of the sub-category name. It’s usually all lowercase and contains only letters, numbers, and hyphens. (e.g. If your category name is Clear Lake Music Fest, make your slug clear-lake-music-fest)
- Parent Event Category — Assign a parent category to create a hierarchy. (e.g. The term Jazz would be the parent of Bebop and Big Band.)
- Description — The category description is not displayed within the BU Events theme. However, you can use this to provide a description in the backend for organizational purposes if you wish.
Once you’ve entered in your information, click the Add New Event Category button, and your new category will be created.
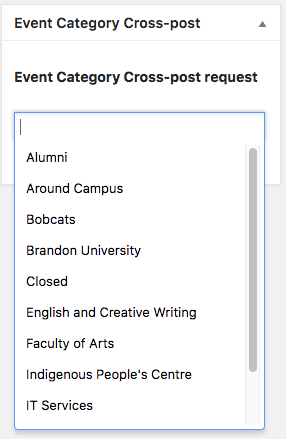
Event Promotion (Cross-Posting)
Cross-posting allows you to request for your event to appear on other BU websites. The Event Category Cross-post request option appears on the right-hand side of the event post editing page, underneath the Featured Image box. The dropdown menu includes a list of BU sites that have a presence on the Events website.
You can select as many sites as you require. Once you publish or update your event, a request is sent to the editors of the sites you have selected. They will then approve or deny your event request at their discretion.
Accessibility Active Offer
An active offer is a statement offering the public the opportunity to request an accessibility. Examples include:
- inviting requests for disability accommodations in event advertisements;
- including the active offer on print materials (E.g. This information is available in alternate formats on request);
- or advertising disability accommodations (E.g. wheelchair access icon).
An active offer appears at the bottom of every event post by default.